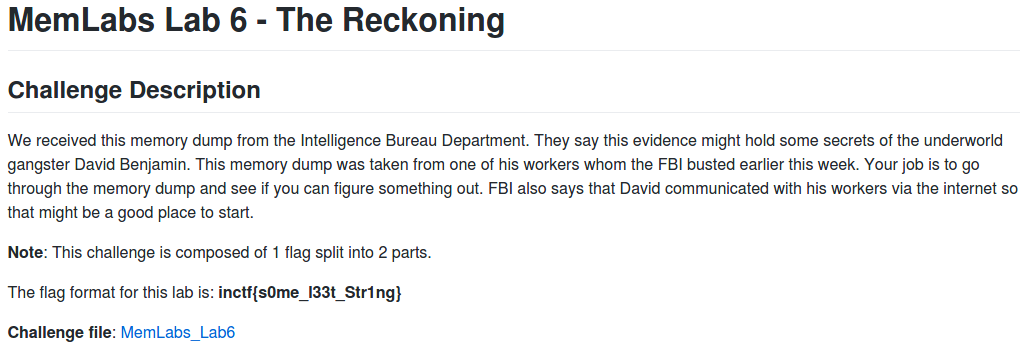
Memlabs is a set of six CTF-style memory forensics challenges released in January 2020 by @_abhiramkumar and Team bi0s. I have been working on the Magnet Weekly CTF recently so the other write-ups I had in progress have been sitting partially finished for a while now. This write-up covers the final challenge – Lab 6 – The Reckoning. You can find the rest of my Memlabs write-ups here.
MD5: 405985dc8ab7651c65cdbc04cb22961c
SHA1: 344ed78742197c70070e5bdcfeeabf29c0785298
Lab 6. The final challenge in the Memlabs series. This one moves a little bit outside of memory analysis and was a lot of fun. Let’s go!
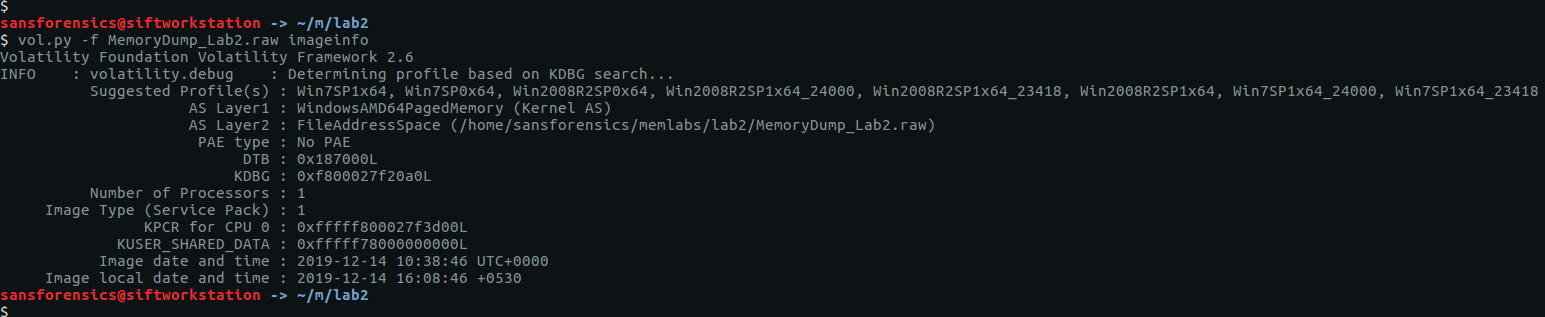
As usual, the first thing we do is determine which profile Volatility should use for the rest of the analysis.
vol.py -f MemoryDump_Lab6.raw imageinfo
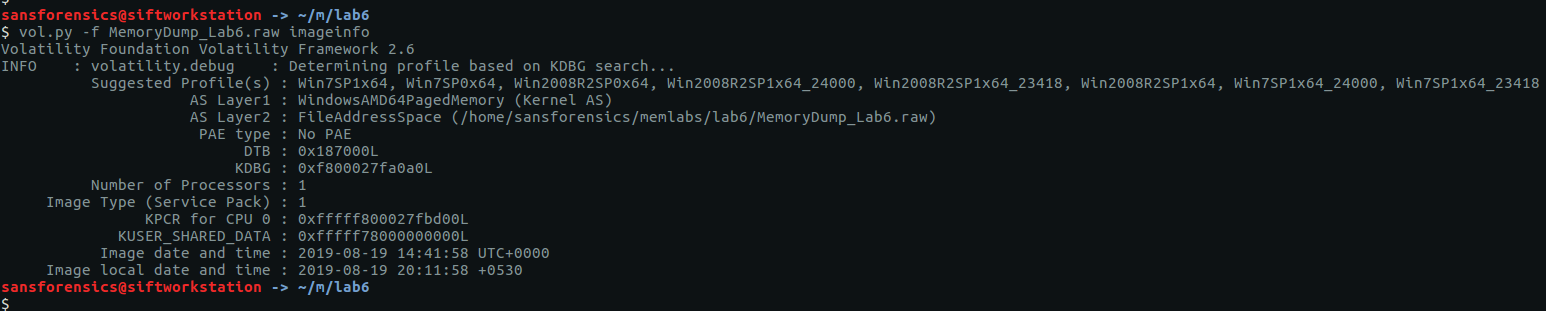
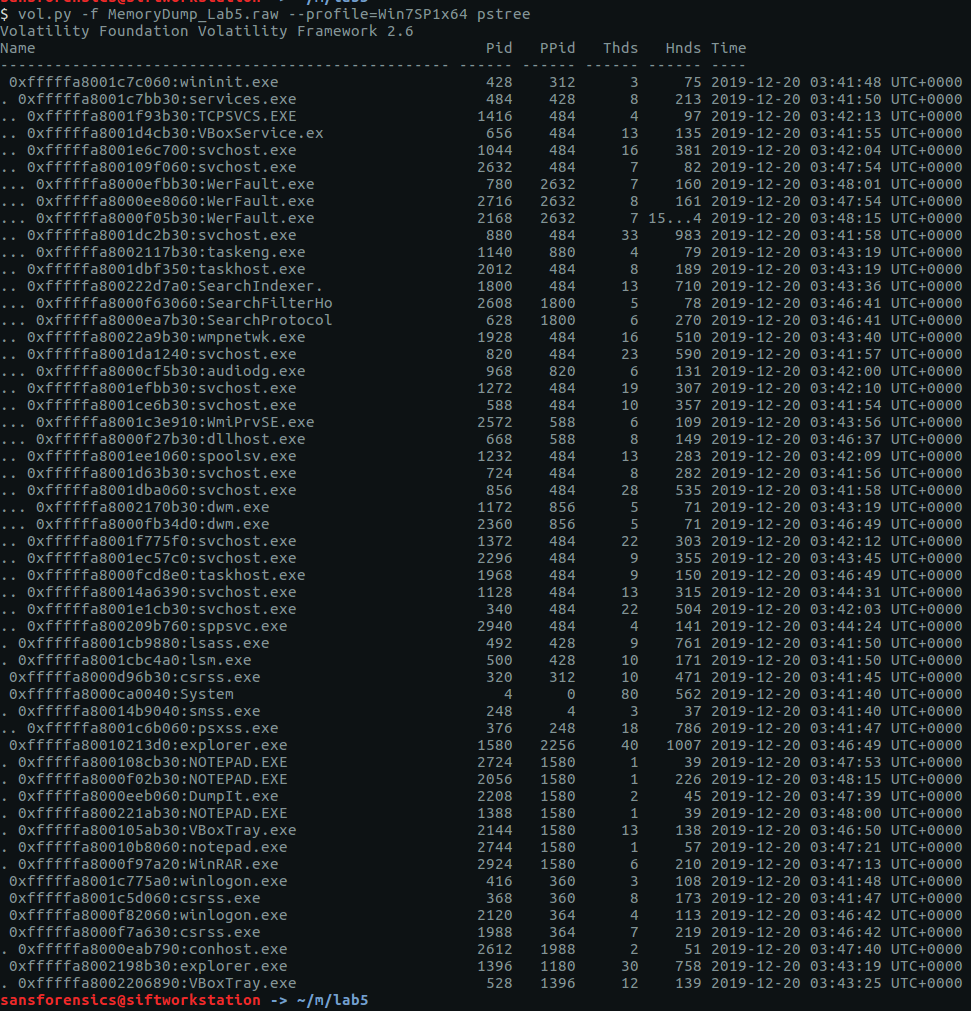
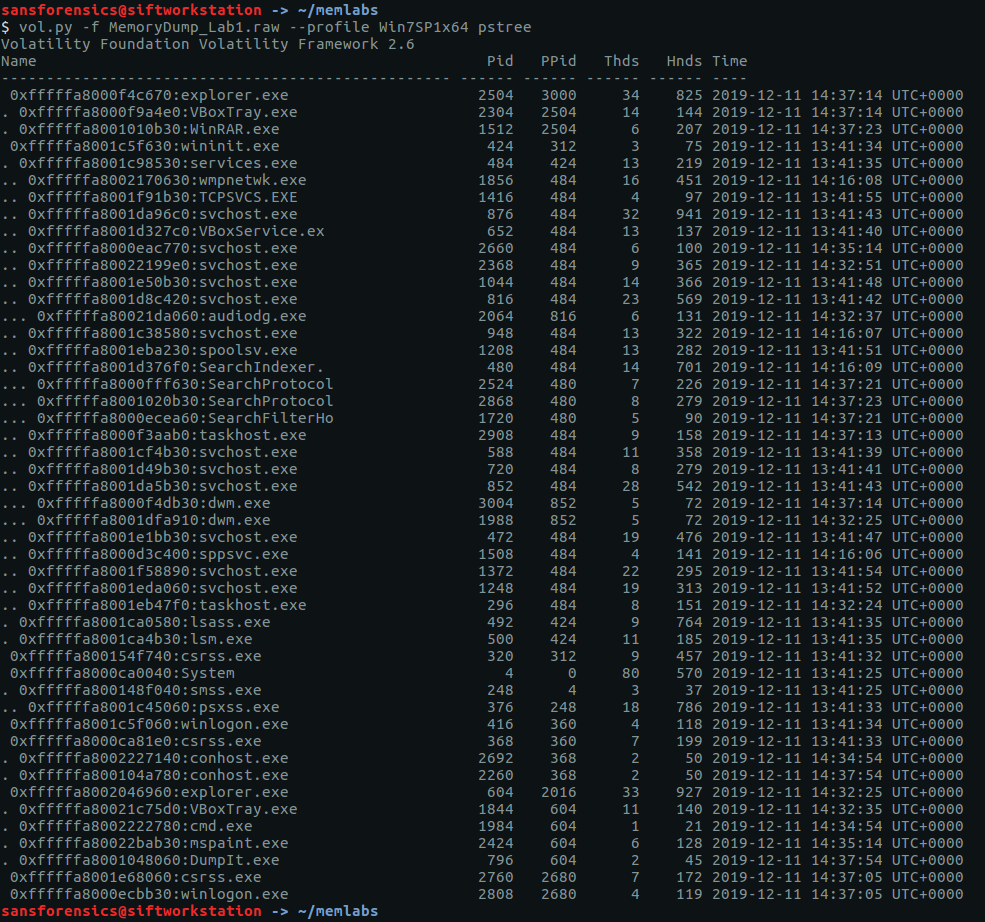
Again, as usual, imageinfo suggests a few suitable profiles; we will use Win7SP1x64 for the rest of the challenge. Checking the running processes with pstree shows that there was quite a lot going on when the memory dump was captured.
vol.py -f MemoryDump_Lab6.raw --profile=Win7SP1x64 pstree

There’s a lot going here. The Chrome and Firefox processes seem like a pretty good starting point, but after picking up a trick in Lab 5, I decided to run the screenshot plugin to get an idea of what was displayed on screen before digging deeper.
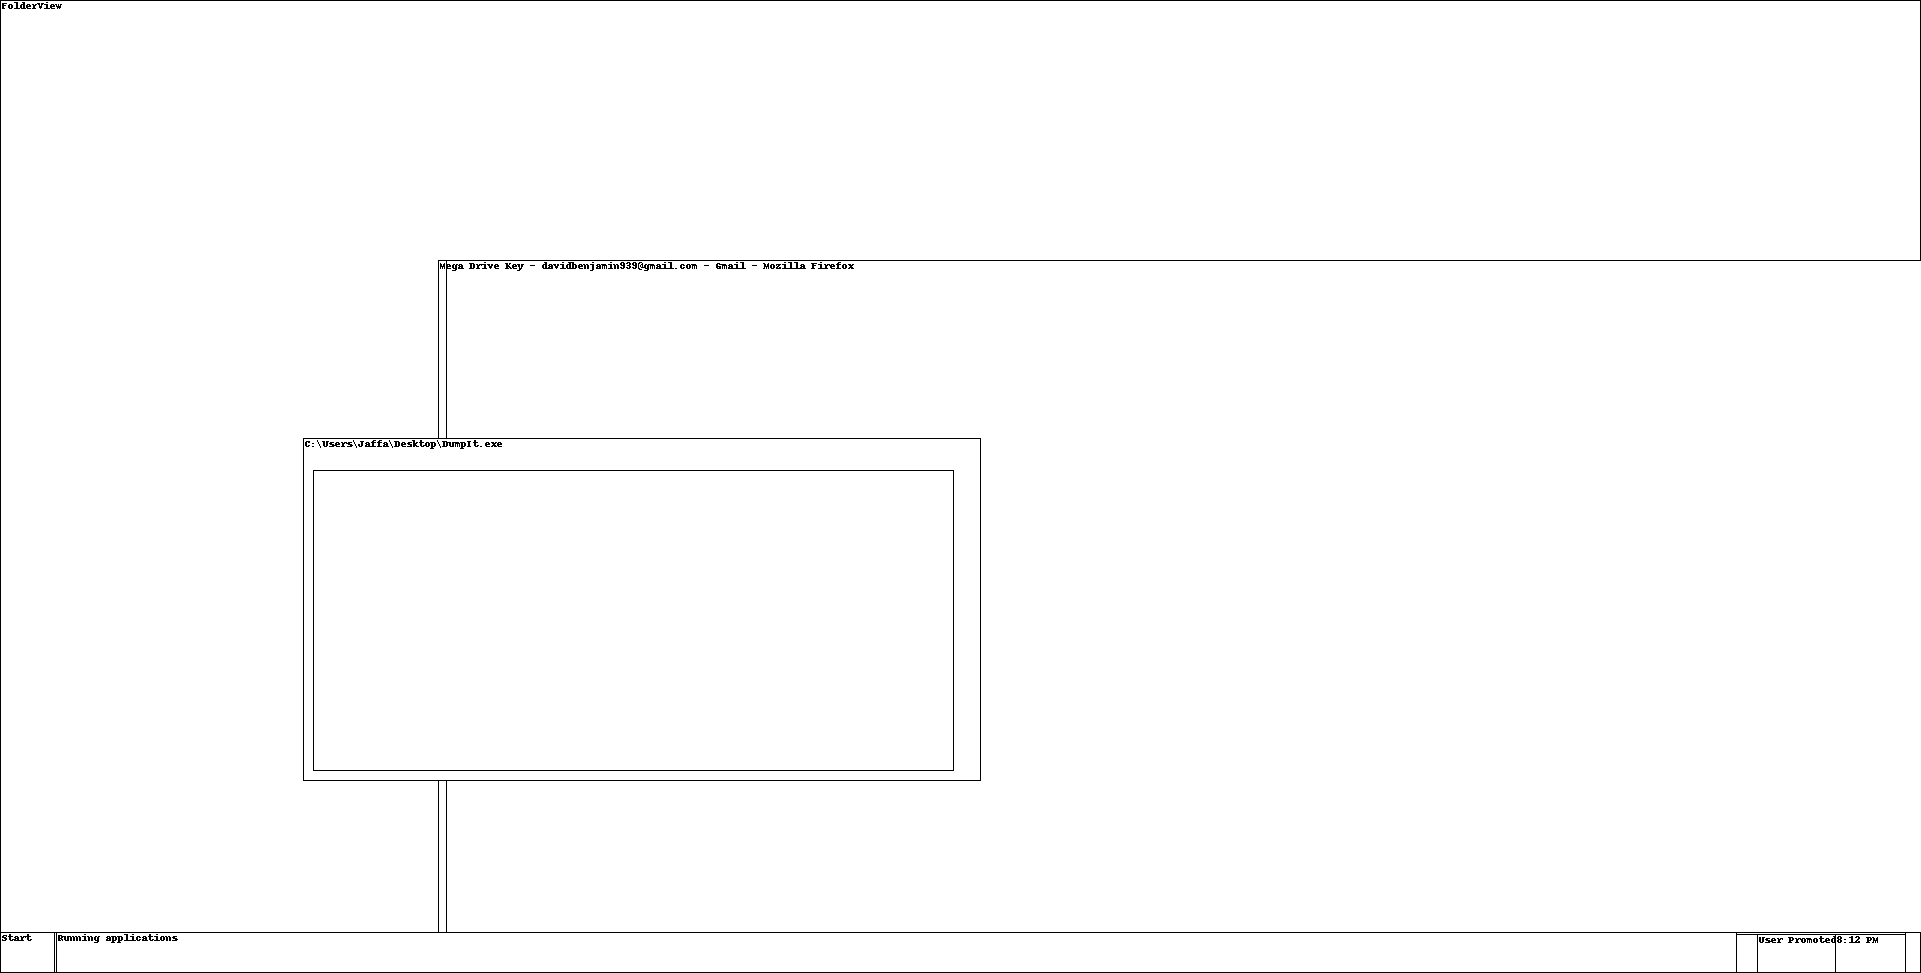
vol.py -f MemoryDump_Lab6.raw --profile=Win7SP1x64 screenshot -D screenshot-output/

Examining the output we find one screenshot (session_1.WinSta0.Default.png) showing a Firefox window titled:
Mega Drive Key - davidbenjamin939@gmail.com - Gmail - Mozilla Firefox
That’s interesting, but not immediately helpful. I used the filescan and dumpfiles plugins to extract the Firefox browser history, but found nothing interesting so repeated the process to extract the Chrome history.
vol.py -f MemoryDump_Lab6.raw --profile=Win7SP1x64 filescan > filescan.txt
grep 'Google\\Chrome\\User Data\\Default\\History' filescan.txt
vol.py -f MemoryDump_Lab6.raw --profile=Win7SP1x64 dumpfiles -Q 0x000000005da5a610 -D . -n

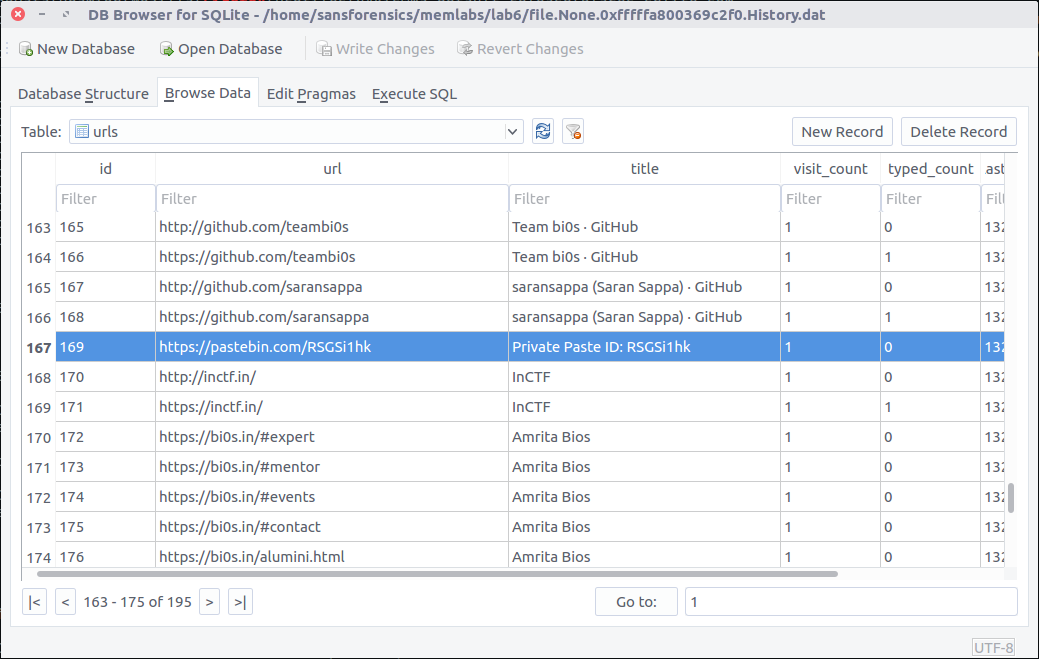
Chrome stores its browsing history as a SQLite database. Loading the extracted file into a GUI SQLite viewer, we find the following Pastebin link in the urls table:
https://pastebin.com/RSGSi1hk
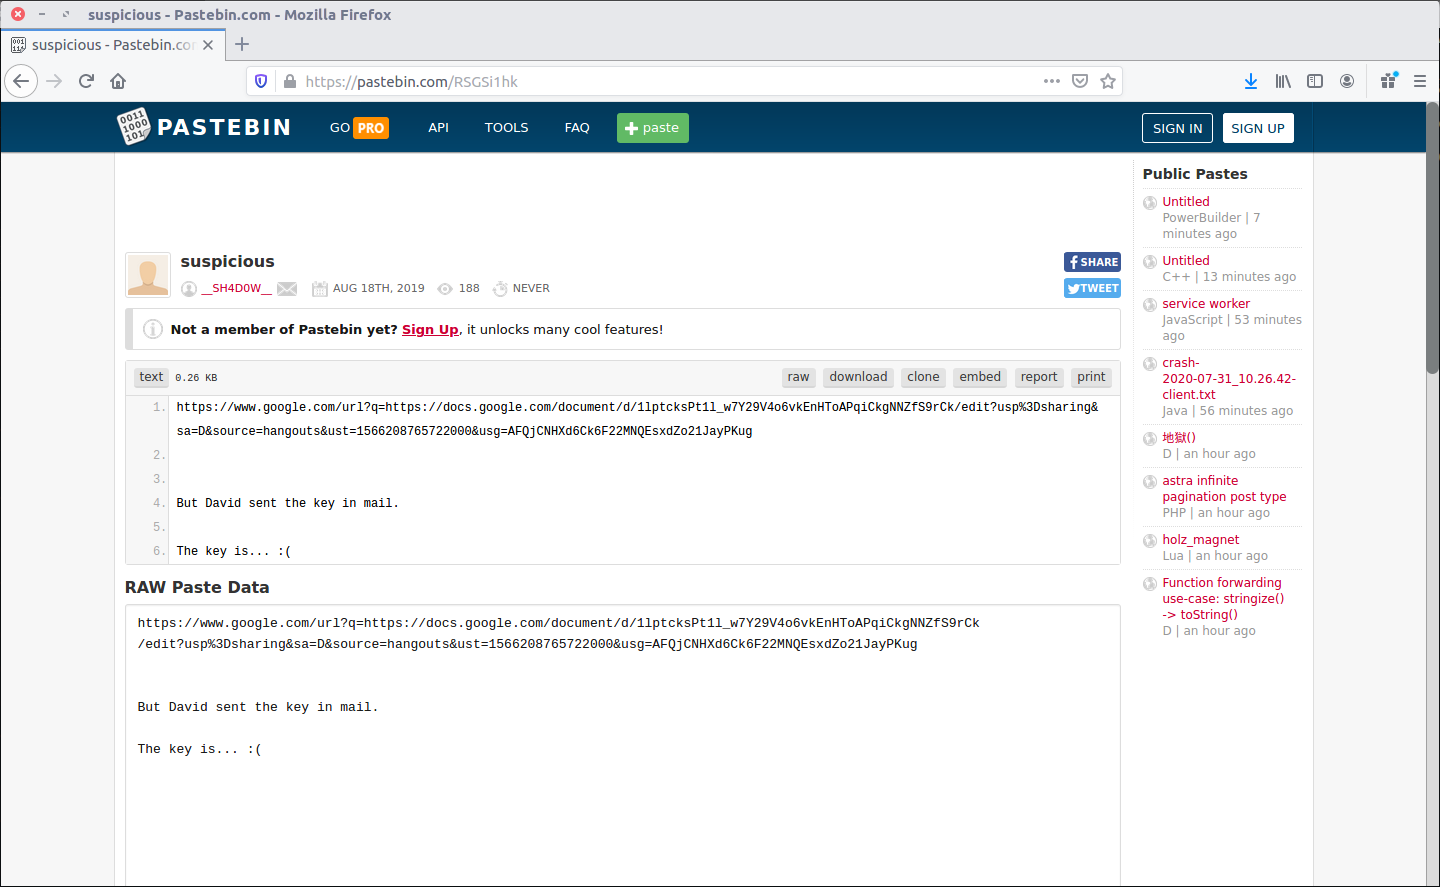
The Pastebin post contains a Google Documents link and a reference to a key. Maybe the same key we saw referenced in the screenshots output earlier?
https://www.google.com/url?q=https://docs.google.com/document/d/1lptcksPt1l_w7Y29V4o6vkEnHToAPqiCkgNNZfS9rCk/edit?usp%3Dsharing&sa=D&source=hangouts&ust=1566208765722000&usg=AFQjCNHXd6Ck6F22MNQEsxdZo21JayPKug
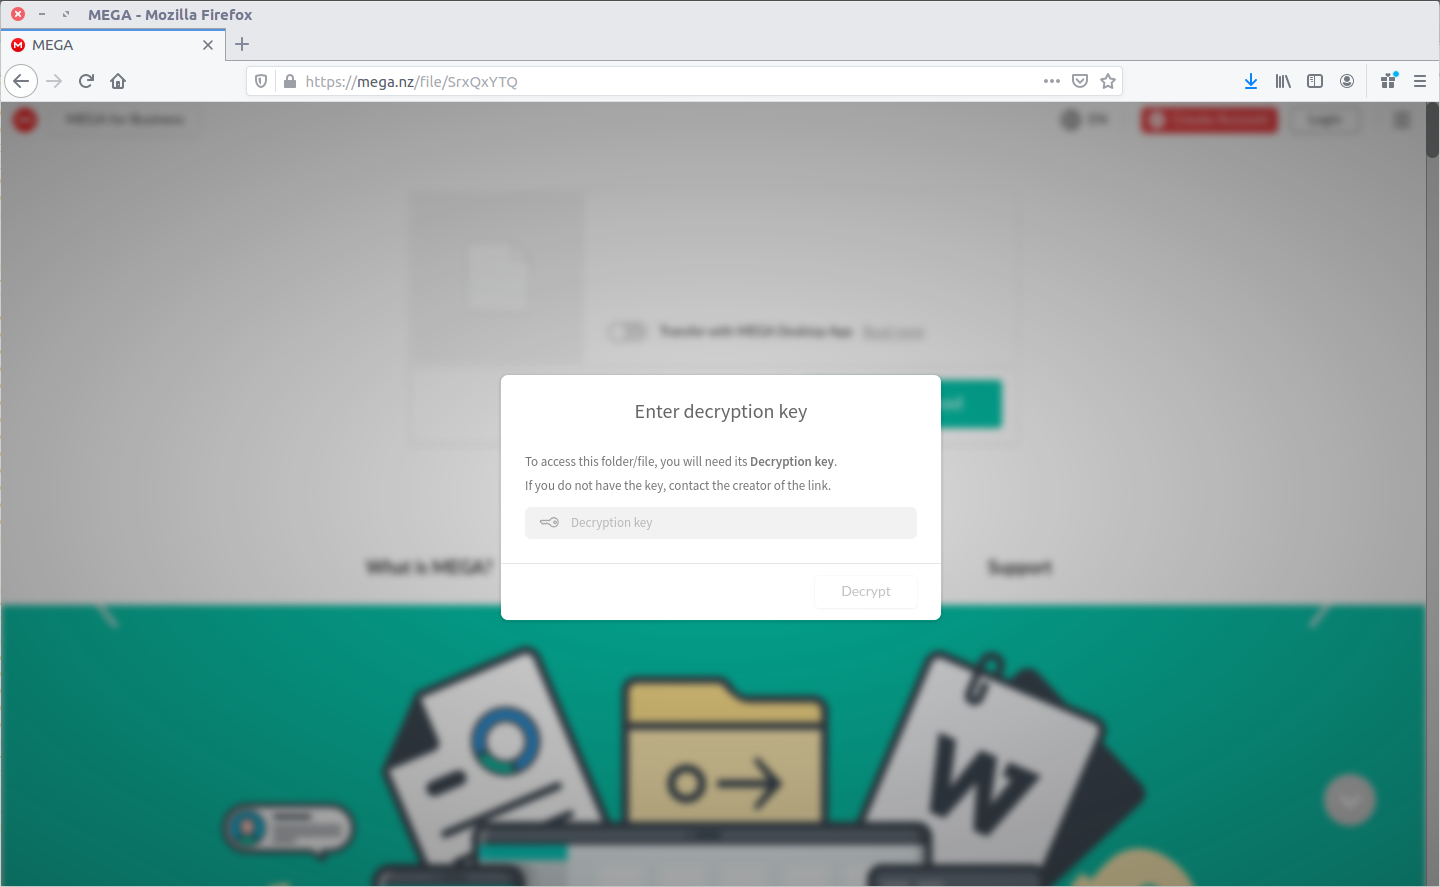
Follow the Google Documents link and we find some pages of stock text, but look a little closer and there is a link to the MEGA file sharing service…

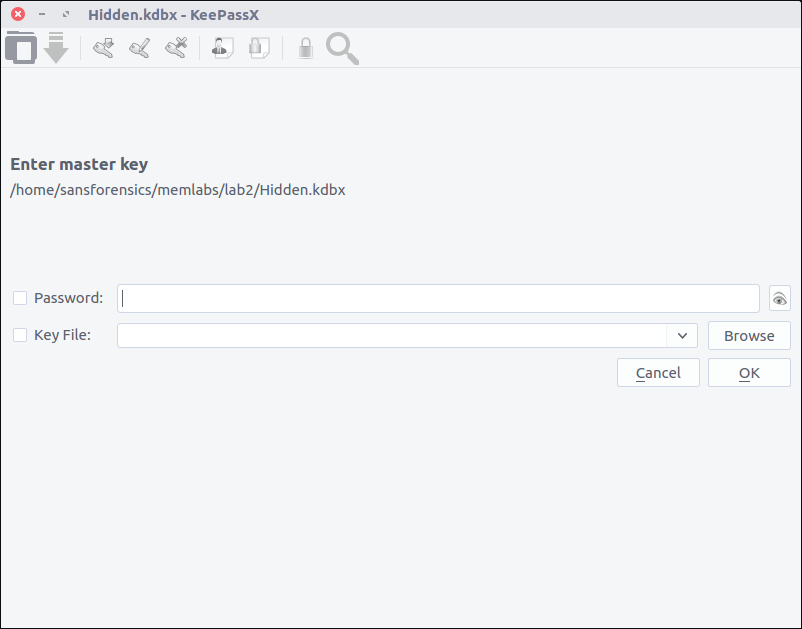
As expected, we need a key to access the MEGA drive:
We can make an educated guess that the key will be in the memory assigned to one of the Firefox processes, but rather than dumping each process individually, I simply grepped the whole memory image for the “Mega Drive Key” string in the Firefox window title. My strings command below uses the -n flag to limit the output to strings of 300 characters or longer; this is simply to make the resulting screenshot look a bit clearer!
strings -n 300 MemoryDump_Lab6.raw | grep 'Mega Drive Key'

Our grep search returns a line that looks somewhat like the source code of a web page, and includes the text we are looking for:
THE KEY IS zyWxCjCYYSEMA-hZe552qWVXiPwa5TecODbjnsscMIU
Now we can access the MEGA drive:

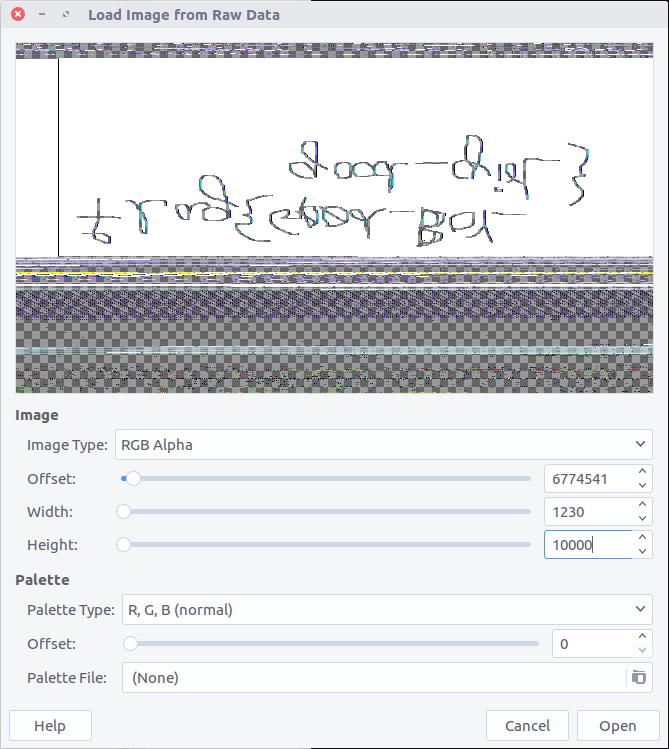
The filename flag_.png is promising but it seems that the file is somehow corrupted:
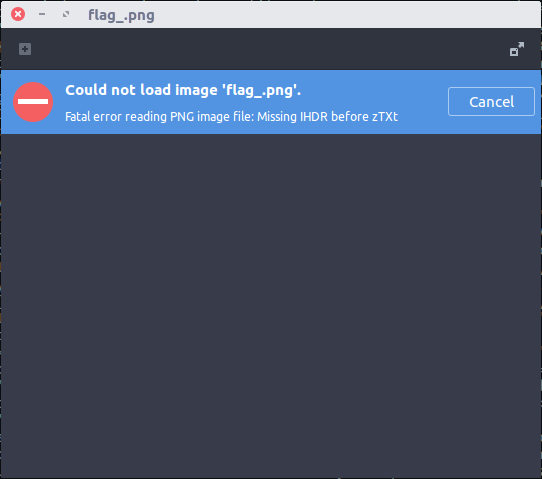
The viewer provides a hint that the IHDR chunk is missing. Let’s open it up in a hex editor and take a closer look. After checking the PNG specification (the PNG Wikipedia article has a nice illustration of how the header should look) I spotted the problem:

Changing the lower-case i (0x69) to an upper-case I (0x49)…

…was all that was needed to open the PNG file correctly and give us the first part of the flag.

inctf{thi5_cH4LL3Ng3_!s_g0nn4_b3_?_
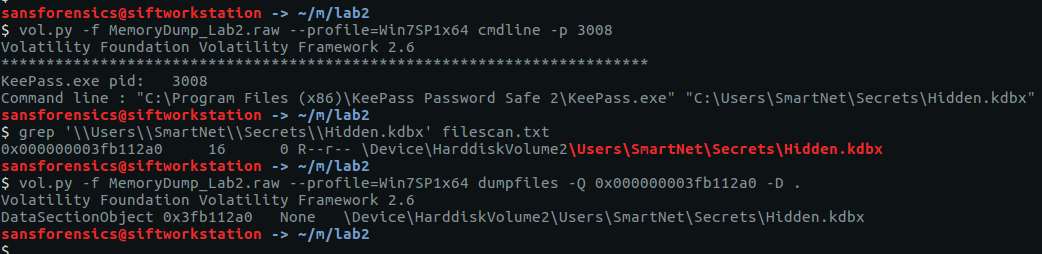
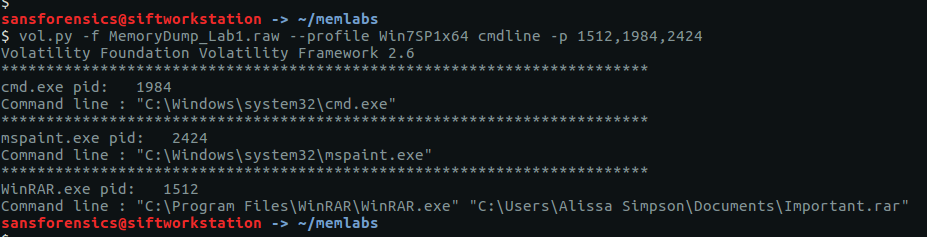
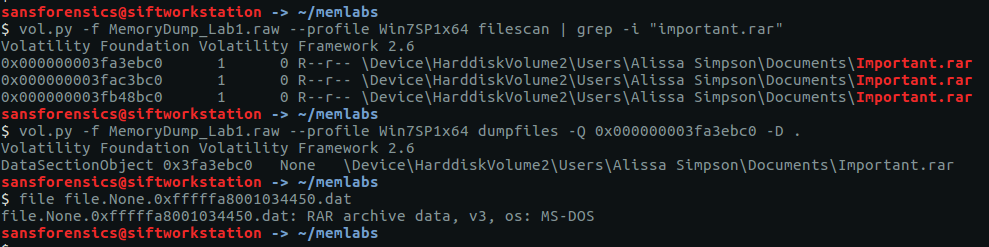
Now to find the second part of the flag. As well as the Firefox and Chrome browser processes, pstree showed us a WinRAR process (PID: 3716). The cmdline plugin can help identify the file that WinRAR was using, then we grep our saved filescan output to find the offset, before finally extracting the archive – flag.rar – using the dumpfiles plugin:
vol.py -f MemoryDump_Lab6.raw --profile=Win7SP1x64 cmdline -p 3716
grep 'Users\\Jaffa\\Desktop\\pr0t3ct3d\\flag.rar' filescan.txt
vol.py -f MemoryDump_Lab6.raw --profile=Win7SP1x64 dumpfiles -Q 0x000000005fcfc4b0 -D . -n

We’re not done yet though! We still need to find another password to open the RAR archive.
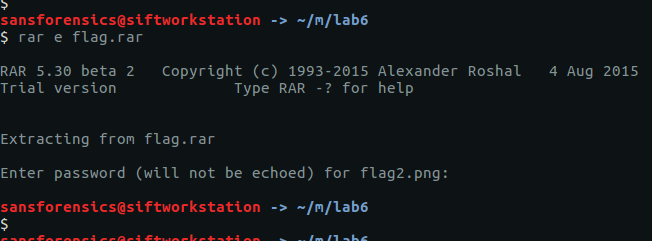
Thinking back to Lab 2 I used the envars plugin to list all of the environment variables in use, and one immediately stood out. Using grep for highlighting, we can see that it was not so subtly hidden!
vol.py -f MemoryDump_Lab6.raw --profile=Win7SP1x64 envars | grep 'RAR password'
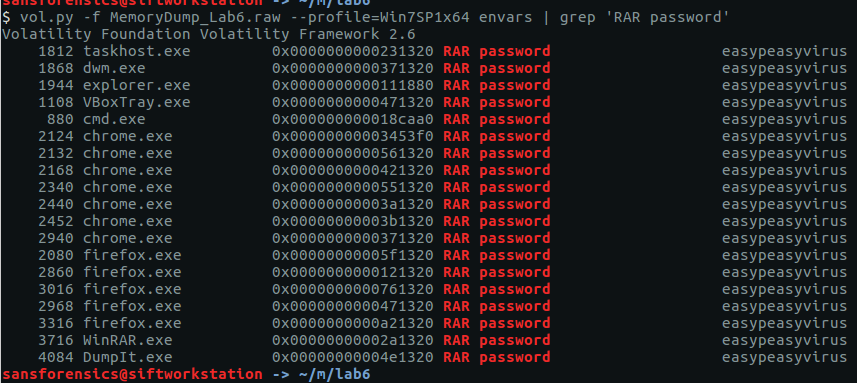
There we go. An environment variable named “RAR password” with a value “easypeasyvirus“. Now we can open the archive…

And read the second part of our flag:

aN_Am4zINg_!_i_gU3Ss???}
Put the two parts together and we have completed the final Memlabs challenge!
inctf{thi5_cH4LL3Ng3_!s_g0nn4_b3_?_aN_Am4zINg_!_i_gU3Ss???}